









 李二狗 — @Meniny
Introduction
I succeeded in installing Void Linux for the aarch64 architecture on a MacBook Book (M1, 2020). This article describes the installation method, impressions of actual use, and tips. Note that this article is aimed at people who are somewhat familiar with Linux and is not recommended at all for those touching Linux for the first time.
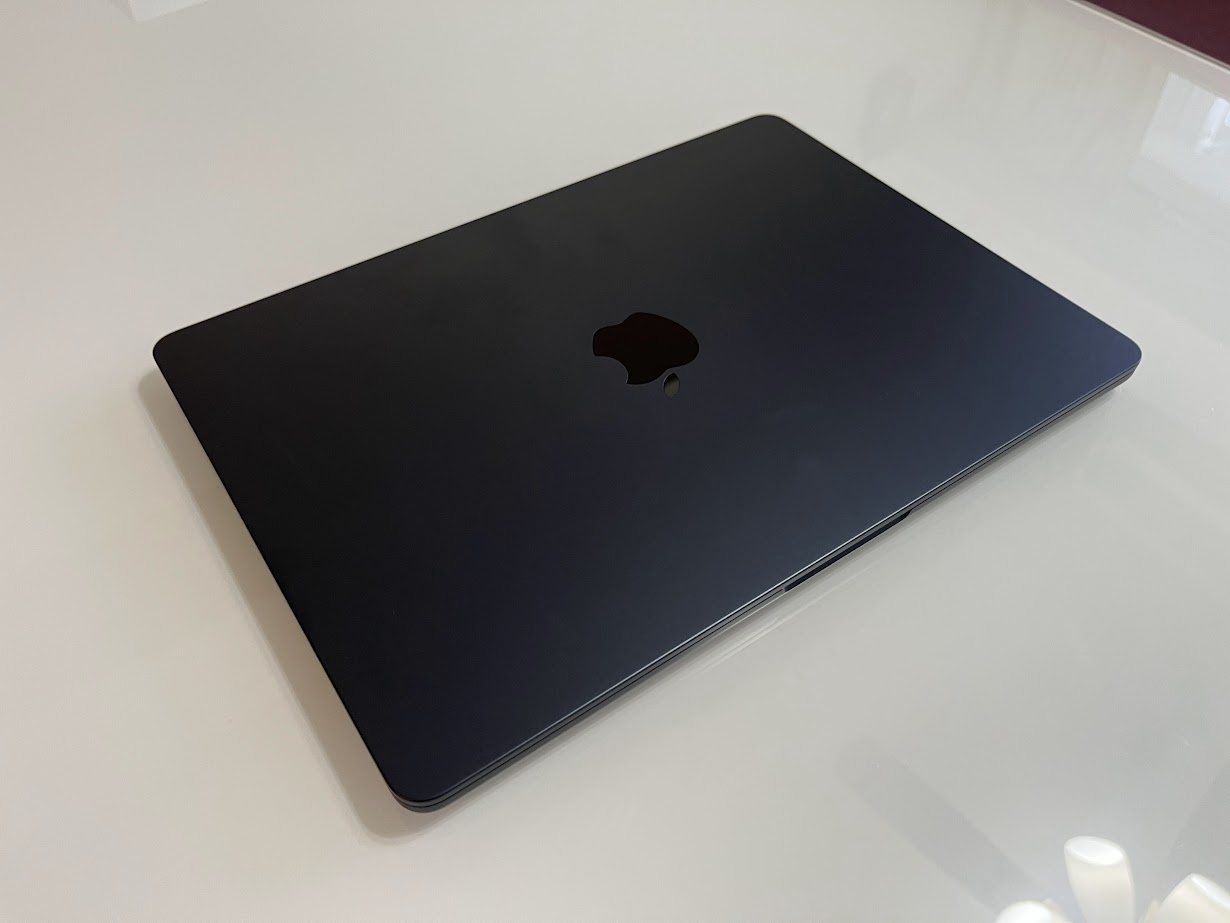
Apparently, thanks to a project called Asahi Linux, Linux can now run on Apple Silicon chips, covering a substantial part including the GPU.
What is Asahi Linux?
Asahi Linux is a project aiming to port Linux to Macs equipped with Apple Silicon. The Apple Silicon chips are mainly supported.
The project is being developed continuously and passionately, with progress updates published on the blog every few months.
Void's Asahi Support
https://docs.voidlinux.org/installation/guides/arm-devices/apple-silicon.html
The officially supported distribution by the Asahi Linux project is Fedora Asahi Remix, but other distributions that support Asahi Linux are being developed by volunteers. Void Linux, which the author uses daily, also seems to be steadily advancing support for arm64 devices including Apple Silicon[1]. Therefore, in this article, I will install the arm64 version of Void Linux that supports Asahi Linux.
Installation
Installing Asahi Linux
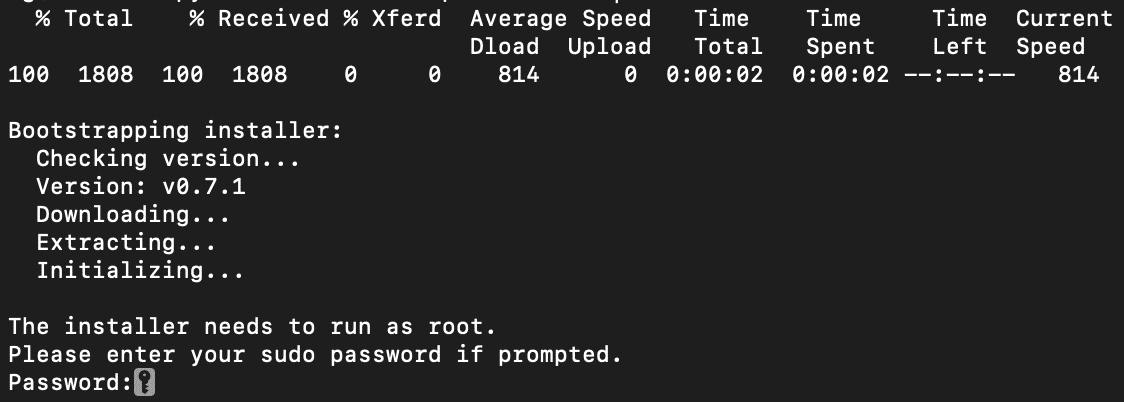
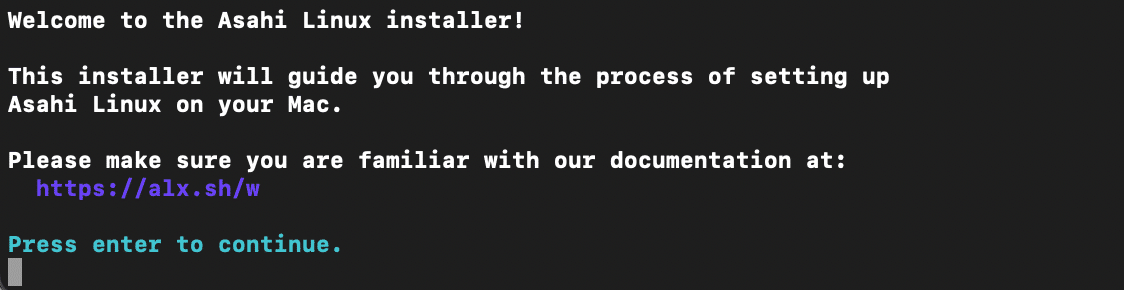
curl https://alx.sh | sh
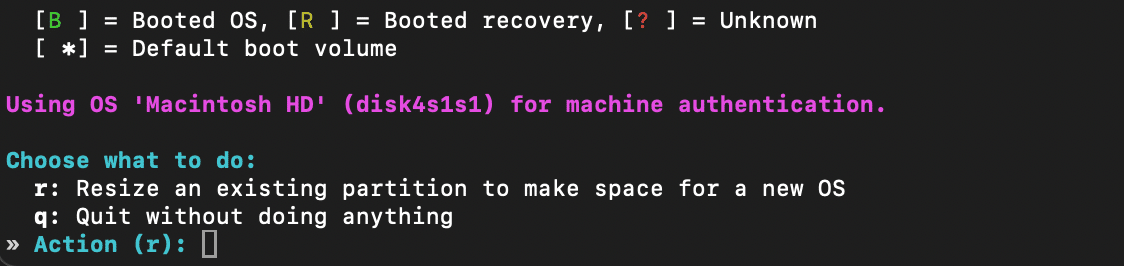
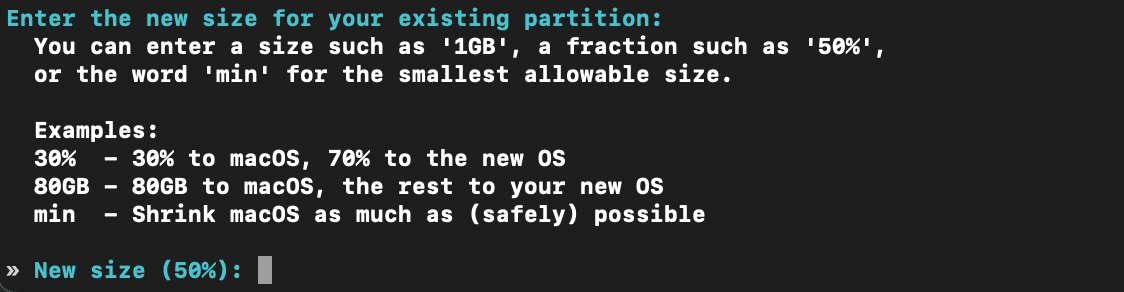
Simply run the above command, and the Asahi Linux installation script will start.
When you see the prompt below, be sure to select 5[2]:
Choose an OS to install:
  1. Fedora Asahi Remix 42 with KDE Plasma
  2. Fedora Asahi Remix 42 with GNOME
  3. Fedora Asahi Remix 42 Server
  4: Fedora Asahi Remix 42 Minimal
  5: UEFI environment only (m1n1 + U-Boot + ESP)
  OS:
After the first step completes, follow these steps to complete the second step:







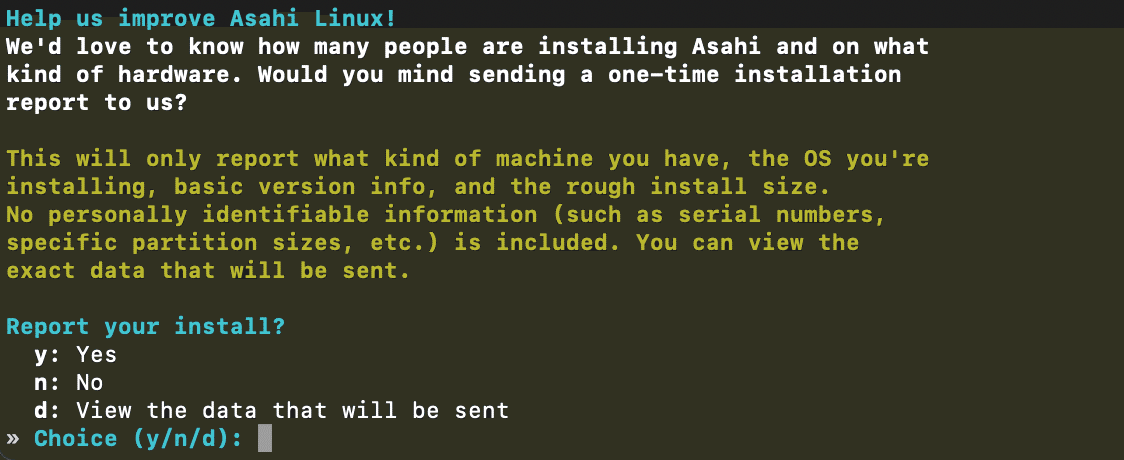

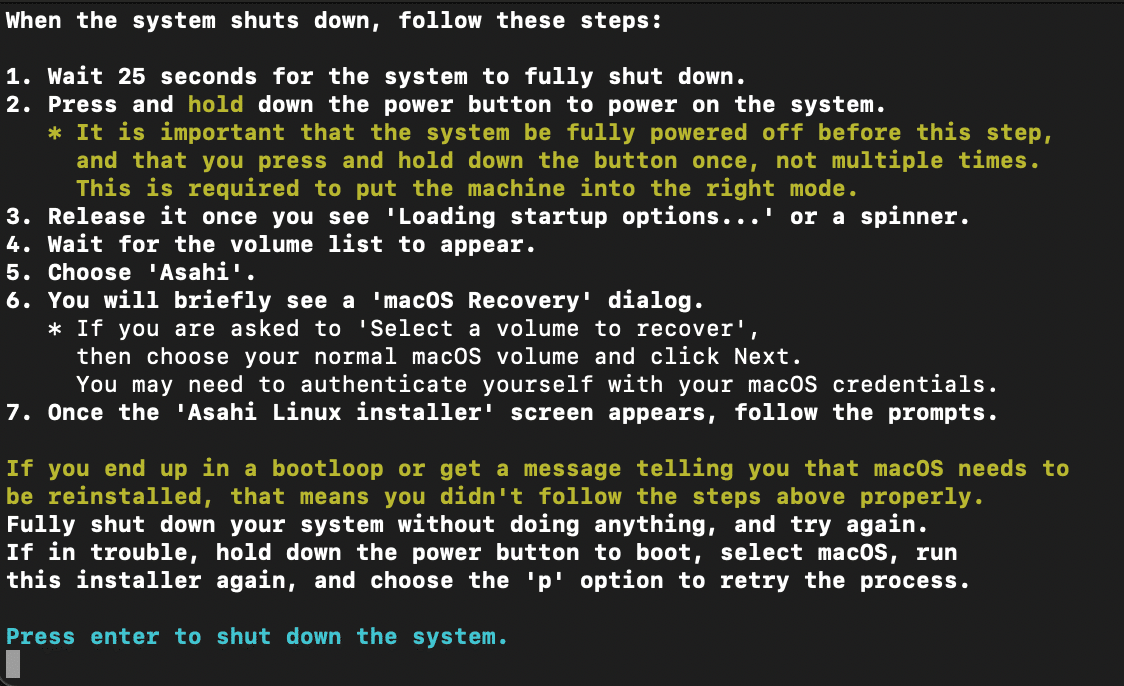
-
Wait about 25 seconds for the system to fully shut down. NOTE: You must wait for a complete shutdown before proceeding!
-
Press and hold the power button to boot. NOTE: Hold it continuously, don't press repeatedly. The screen will display a message like "Press and hold to show boot options..."
-
Release the power button when the boot volume selection screen appears. (Continuing to hold from step 2 should bring you here.)
-
Wait until the boot volume selection screen appears.
-
Select Asahi.
-
The "macOS Recovery" screen will appear shortly after (you may need to enter your macOS password again here).
-
When the Asahi Linux installer (second step) appears, follow the on-screen instructions:
Asahi Linux installer (second step)

You will see some messages advising you that you are changing the
security level of your system. These changes apply only to your
Asahi Linux install, and are necessary to install a third-party OS.

Apple Silicon platforms maintain a separate security level for each
installed OS, and are designed to retain their security with mixed OSes.
The security level of your macOS install will not be affected.

You will be prompted for login credentials two times.
Please enter your macOS credentials (for the macOS that you
used to run the first step of the installation).

Press enter to continue.
Read the notice and press Enter.
Please enter password for user xxxxx:
Enter your macOS password and press Enter.
Local policy update is in progress, please wait
Wait for it to complete.
By setting a custom boot object, you will be putting your system into Permissive
Security.

Are you sure you want to do this? (enter y or n)
Enter y and press Enter.
Username:
Enter your macOS username and press Enter.
Password:
Enter your macOS password and press Enter.
Installation complete! Please enter to reboot.
Installation is complete! Press Enter to reboot.
Installing Void Linux
The process described above only installs the UEFI environment necessary to run Linux on Apple Silicon; Void Linux itself must be installed manually. Therefore, the steps are outlined below.
https://docs.voidlinux.org/installation/guides/chroot.html
The basic procedure follows the link above, but this guide includes specific steps considering the Asahi Linux peculiarities.
Bootable USB
https://voidlinux.org/download/
First, prepare a bootable USB to launch the installer. Download the arm platforms > apple silicon (asahi) live image from the official download page, then burn it to a USB drive using the dd command (or similar). At startup, select the UEFI boot loader (the one with the Asahi Linux logo) that was installed earlier, and the Void Linux installer will boot from the USB.
Note: The following steps assume you selected the base image. If you chose the base image, all operations will be performed via CUI (command line).
U-Boot (installed by the Asahi installer) should show the external USB as a boot option. If it does not, run these commands in the U-Boot prompt to boot:
U-Boot> setenv boot_targets "usb"
U-Boot> setenv bootmeths "efi"
U-Boot> boot
Console Font
If the terminal text is too small after booting into the live system:
setfont LatGrkCyr-12x22
File System
In the Void Live ISO terminal, run the following commands to identify the partition layout:
lsblk
...
nvme0n1         ...
├─ nvme0n1p1    ...   (a macOS partition)
├─ nvme0n1p2    ...   (a macOS partition)
├─ nvme0n1p3    ...   (recovery, etc.)
├─ nvme0n1p4    ...   ← EFI System Partition (ESP) created by Asahi
├─ nvme0n1p5    ...   (possibly others)
...
Use fdisk to confirm partition types and sizes:
fdisk -l /dev/nvme0n1

# or:
lsblk -o NAME,SIZE,TYPE,FSTYPE,MOUNTPOINT
Key points to look for:
- A partition around 300MB-500MB with type "
EFI System" → this is theESPcreated by the Asahi installer - Type "
Linux filesystem" or unallocated free space → this is the space you reserved
Use blkid to confirm:
blkid
This will display the filesystem type and UUID for each partition. The ESP partition will show TYPE="vfat" or PARTLABEL containing EFI.
Now, create one partition for the Linux file system using fdisk.
fdisk /dev/nvme0n1
After entering fdisk:
- Type
nto create a new partition - Use the default partition number (press Enter) — in my case it was
6 First sector— enter the sector number where the free space starts (the value right after theEFIpartition'sEnd.fdiskusually suggests the correct default, so just press Enter)Last sector— enter+128G(if you need 128GB) or use the default to fill the entire free space- Type
wto write and save
After creating the partition in the free space, format it with:
mkfs.ext4 /dev/nvme0n1p6 # Assuming the file system is created on /dev/nvme0n1p6
At this point, use the EFI System Partition that was generated during the Asahi Linux installation (you do not need to create one yourself).
Then, mount the file system and the EFI System Partition:
# Mount the root file system
mount /dev/nvme0n1p6 /mnt/
# Mount the EFI System Partition
mkdir -p /mnt/boot/efi/
mount /dev/nvme0n1p4 /mnt/boot/efi/
Network
If you are not yet connected to the internet at this point, try connecting to WiFi. First, check for recognized network interfaces:
ip link
My device showed wlp1s0f0. Try using wpa_supplicant to connect to WiFi:
# 1. Create the configuration file
wpa_passphrase "YourWiFiName" "YourWiFiPassword" > /etc/wpa_supplicant.conf

# 2. Connect
wpa_supplicant -B -i wlp1s0f0 -c /etc/wpa_supplicant.conf

# 3. Get an IP address
dhcpcd wlp1s0f0

# 4. Verify the connection:
ping -c 3 repo-default.voidlinux.org
Installing the Base System
Next, install the base system. First, copy the RSA keys used for package installation to the target root directory:
mkdir -p /mnt/var/db/xbps/keys
cp /var/db/xbps/keys/* /mnt/var/db/xbps/keys/
Then, install the packages for the basic system. Make sure to install the three packages: base-system, asahi-base, and asahi-scripts.
XBPS_ARCH=aarch64 xbps-install -S -r /mnt -R "https://repo-default.voidlinux.org/current/aarch64" base-system asahi-base asahi-scripts
Various Settings
Generate the fstab based on the mounted file system:
xgenfstab -U /mnt > /mnt/etc/fstab
Enter the file system using xchroot:
xchroot /mnt /bin/bash
Set your desired hostname. Also edit /etc/rc.local, /etc/default/libc-locales, etc.
echo void-asahi > /etc/hostname # Set hostname
vi /etc/rc.conf # Configure keyboard layout and local time
# Generate locale
vi /etc/default/libc-locales # Uncomment the desired locale
xbps-reconfigure -f glibc-locales
# Set local time
ln -sv /usr/share/zoneinfo/<Timezone> /etc/localtime
Boot Loader
Install GRUB as the boot loader:
xbps-install -S grub-arm64-efi
grub-install --target=arm64-efi --efi-directory=/boot/efi --bootloader-id="Void" --removable
User and Password
# Set root password
passwd
# Create a regular user
useradd -m -G wheel,audio,video,storage yourusername
passwd yourusername
For admin privileges, install sudo and configure the wheel group:
xbps-install sudo
Then edit sudoers:
visudo
Find this line and uncomment it:
%wheel ALL=(ALL) ALL
If you want to use nano or nvim instead of the default editor (vi) for visudo:
EDITOR=nano visudo
# or
EDITOR=nvim visudo
Final Verification
Verify that all installed packages are properly configured:
xbps-reconfigure -fa
The installation is now complete.
Unmount the file system and power off:
exit # Exit the chroot
umount -R /mnt # Unmount the file system
shutdown -r now # Power off
NOTE: It is recommended to remove the USB drive at this point.
If the installation is successful, the Void Linux logo appears in the center of the boot screen. Congratulations! 🎉 GRUB should start and allow you to boot Void Linux. Then, customize it to your liking.
U-Boot 2025.04-1 (May 22 2025 - 15:53:34 +0000)

Model: Apple MacBook Pro (13-inch, M1, 2020)

starting USB...
Bus usb@382280000: Register 2000047f NbrPorts 2
Starting the controller
USB XHCI 1.10
Bus usb@382280000: Register 2000047f NbrPorts 2
Starting the controller
USB XHCI 1.10
scanning bus usb@382280000 for devices... 1 USB Device(s) found
scanning bus usb@382280000 for devices...
If you need to boot into USB again, run these commands in the U-Boot prompt:
U-Boot> setenv boot_targets "usb"
U-Boot> setenv bootmeths "efi"
U-Boot> boot
Real-World Usage
Overall, I was able to use it more comfortably than expected. However, there are also many aspects that make it difficult for daily use.
👍 Advantages
High-Quality Linux Laptop
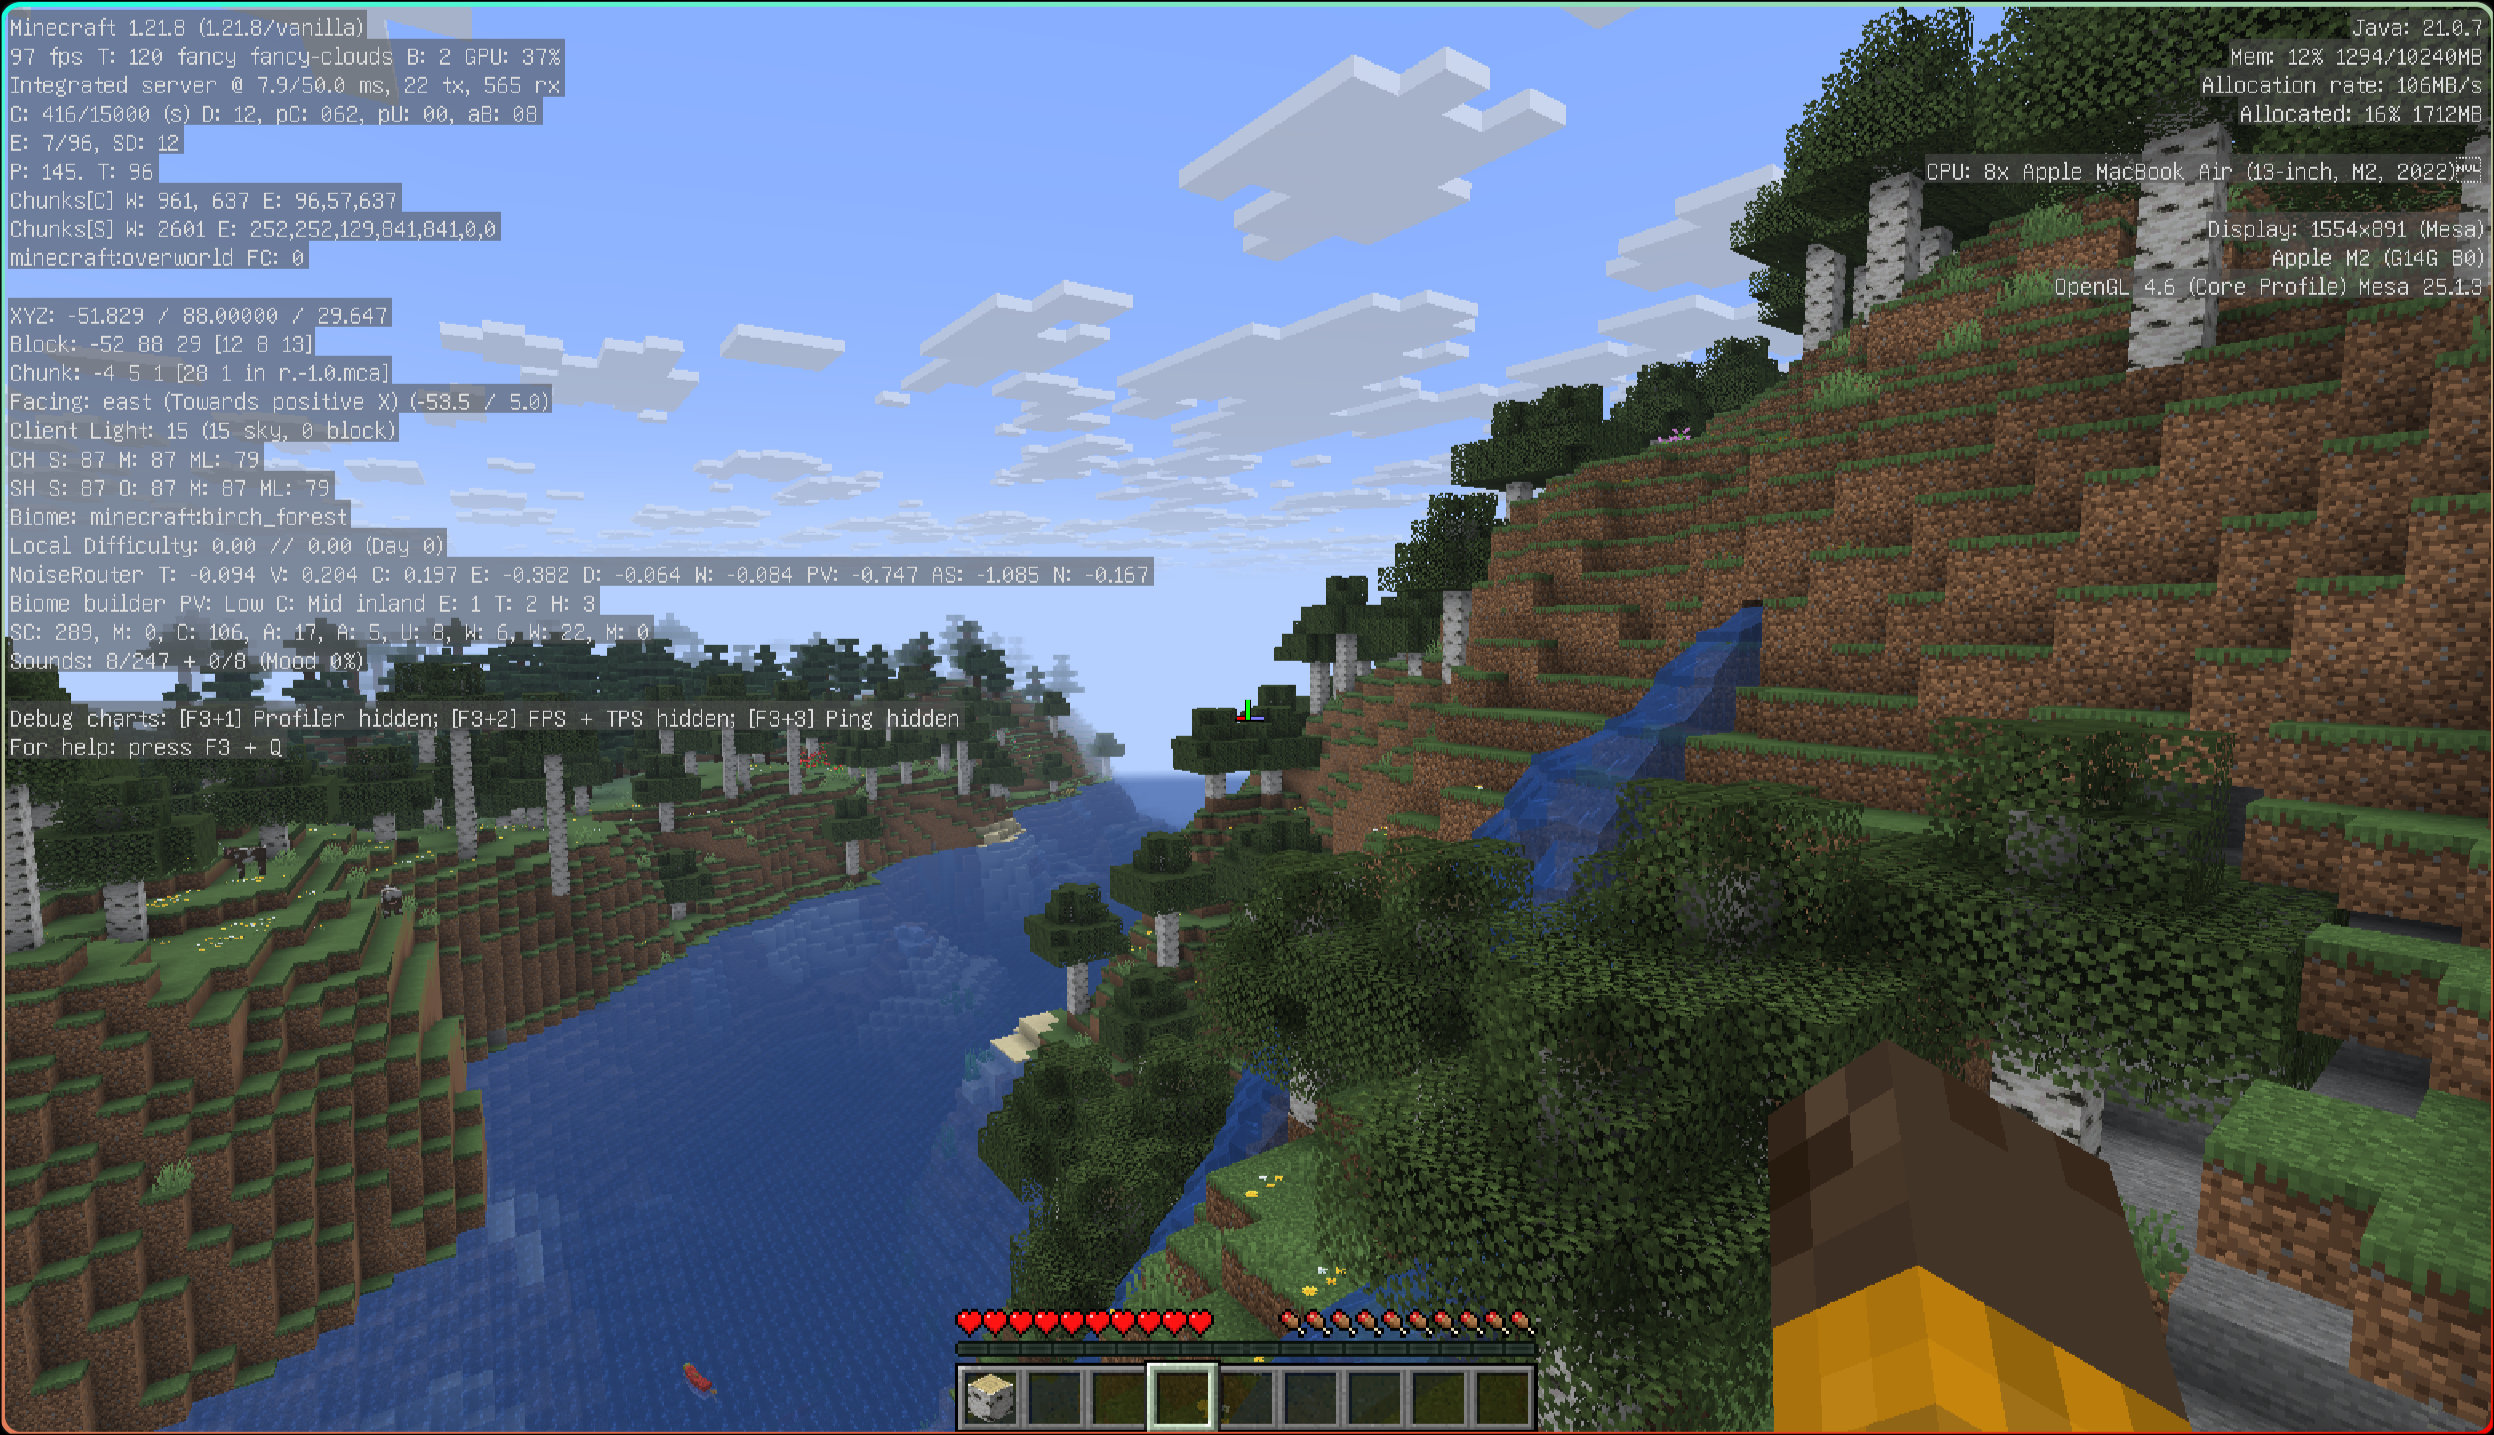
In terms of performance and battery life, it significantly surpasses typical notebook PCs. For example, tasks ranging from web browsing and coding to illustration creation are all smooth without any stuttering. Moreover, for such tasks, the battery lasts about 8 hours (which is exceptional for a Linux laptop). The GPU performance, a hallmark of Apple Silicon, is also fully utilized; in vanilla Minecraft, it achieves roughly 250~300fps[3].
Furthermore, the excellent look and feel of the hardware cannot be overlooked. Not only does the Apple-crafted aluminum unibody chassis shine, but the high-resolution, vivid Retina display offers a new discovery: "Linux can be this beautiful." The trackpad's operation is also uncompromised, causing no inconvenience when working away from home where it's hard to carry a mouse or keyboard. Overall, as a Linux laptop, it achieves a very high level of completeness in both performance and portability.
Ease of Troubleshooting
Some might think, "Because it's a special environment with few users, troubleshooting would be difficult." But in fact, the opposite is true.
A significant portion of the difficulty in PC troubleshooting stems from the fact that hardware is diverse, making it hard to reproduce or isolate the environment where the problem occurred. In contrast, with Asahi Linux, the compatible devices are naturally limited to M1 and later Macs, and the support status for each device is meticulously documented. This makes it very easy to separate "user-caused issues" from "Asahi Linux-side problems (which are currently unavoidable)." However, it's not that there are few problems; it's just that they are easy to diagnose.
👎 Disadvantages
Although I praised it above, the disadvantages are by no means negligible. Whether to use Asahi Linux should be carefully considered based on whether it fits your intended use case.
Work in Progress
Asahi Linux is a project under active development, so some (sometimes important) features do not work well. For example, currently:
- Video output from the USB-C port is not possible.
- Power consumption during sleep is high (about 2% per hour).
- Hardware video encoding/decoding is not supported; simply watching YouTube can consume over ten percent of CPU.
If you cannot tolerate these issues, it's better not to use it yet.
Limited Application Support
There are issues related to application installation due to the arm64 architecture (e.g., only x86_64 builds are available). For open-source software and other projects with public source code, you can build them yourself. For proprietary software, installation may require workarounds or compromises.
⚖ Comparison with macOS
Let's also compare it with macOS, the native OS for MacBooks. First, Asahi Linux clearly wins in terms of memory consumption. macOS consumes 6~7GB of RAM just at startup, whereas on Asahi Linux, even with countless browser tabs open and a development environment running, it rarely exceeds that amount (I use Hyprland as my window manager). Beyond that, the freedom of the desktop environment on (Asahi) Linux is something macOS simply cannot replicate[4]. Even if you dislike the look of KDE Plasma, you can just install (for example) Gnome instead.
On the other hand, while overall performance is excellent for a Linux laptop, it is not as optimized as macOS (especially in power management). For instance, leaving it in sleep mode for half a day can drain the battery by about 25%. Also, the available applications tend to be richer on macOS. In conclusion, macOS might be more user-friendly for everyone except those who seek high freedom.
Tips
Here, I provide some tips that might be useful for daily use of Asahi Linux.
Google Chrome
First, it's important to note that there is no arm64 build of Google Chrome for Linux. This means Asahi Linux, running on M1/M2 chips with arm64 architecture, seemingly cannot use Google Chrome.
But think about it: the main advantage of using Google Chrome is the ability to sync passwords and bookmarks via your Google account, right? If so, syncing Chromium with a Google account should achieve almost the same thing. Fortunately, Chromium can be installed normally, so I took the approach of customizing Chromium.
sudo xbps-install -S chromium
After installing Chromium, obtain the Google Sync API. The specific procedure can be followed at https://658c196ef6.seesaa.net/article/474071017.html.
Then, by adding those environment variables as options when launching chromium, you can enable synchronization with your Google account. Creating your own desktop entry makes this easier.
Visual Studio Code
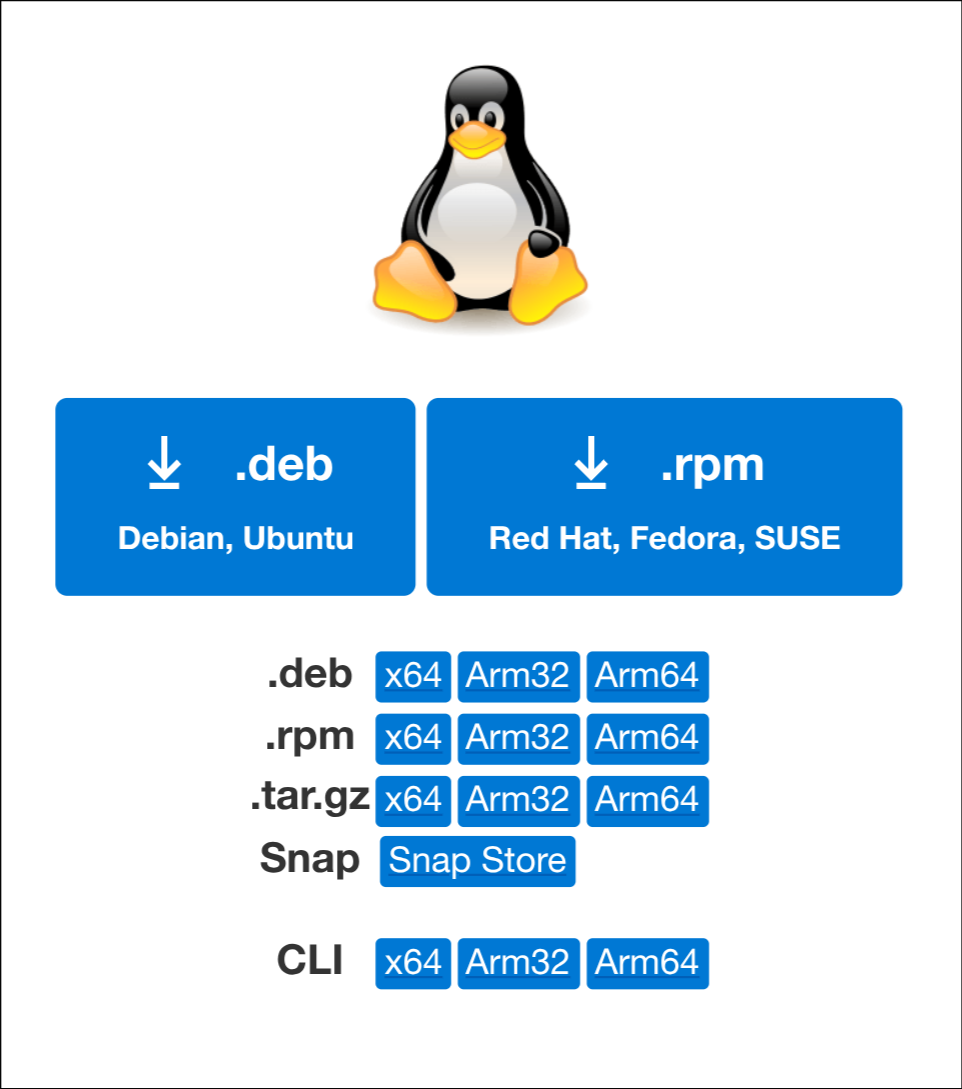
The x86_64 xbps repository has a vscode package (which actually installs the OSS version Code-OSS), but the arm64 repository does not. Therefore, download the arm64 Linux tar.gz directly from the VSCode official website (or use xdeb after downloading the deb package).
https://code.visualstudio.com/download
Discord
There is no ARM Linux build for Discord, and since it is proprietary, you cannot build it from source yourself. Moreover, using the web version puts a heavy load on the CPU (Discord alone consumes about 20~30% CPU).
There appears to be a case where someone successfully built an arm64 version of Discord on Arch Linux, so I would like to try installing it on Void Linux based on that.
Touch Bar
The Touch Bar on the MacBook Pro M1 (13-inch, 2020) is partially supported on Void Linux Asahi, but the display side does not work out of the box.
What works:
- Touch input — the
apple_z2kernel module loads automatically and creates/dev/input/event2(MacBookPro17,1 Touch Bar). The touchbar firmware (dfrmtfw-j293.bin) is provided byasahi-firmware.
What does not work:
- Touch Bar display — there is no DRM device (
/dev/dri/cardN) for the touchbar screen. Thetiny-dfrdaemon, which renders the Dynamic Function Row UI, cannot function without it.
Why:
The touchbar display requires a DRM driver that creates a userspace-visible display device. On Fedora Asahi Remix, this is handled by the ADP driver (adpdrm), which gained touchbar display support in Linux 6.14/6.15 (see Asahi Linux 6.14 Progress Report). However, the Void Linux linux-asahi kernel package (7.1.10+1) does not include this functionality in its adpdrm build — only the main display connector is created.
Note that appletbdrm (found in drivers/gpu/drm/tiny/) is for Intel Mac Touch Bars only (depends on X86), not Apple Silicon.
The kernel does detect the hardware correctly — the device tree has the touchbar SPI device, the dispdfr_fe/dispdfr_be power domains exist, and the firmware is present. The missing piece is solely the DRM driver that bridges the hardware to userspace.
Status / workarounds:
- File an issue on void-packages requesting the
linux-asahimaintainer to enable ADP touchbar display support. - If Touch Bar display is essential, Fedora Asahi Remix remains the most complete option for this hardware.
- Monitor Void kernel updates:
xbps-install -u linux-asahi
Conclusion
Modifying a MacBook you bought with a large sum of money during a period of yen depreciation might take courage, but if you're interested in Linux or have grown tired or frustrated with macOS, I highly recommend installing Asahi Linux.
Footnotes
-
Void Linux originally officially supports arm64, and its design philosophy suggests it is intended for use on a wide range of devices. Incidentally, it can also be installed on Raspberry Pi. ↩︎
-
Because Void Linux will be installed later into the free space on the disk. ↩︎
-
Perhaps due to the adoption of a native OpenGL driver born from reverse engineering, Minecraft performs comparably to, or even slightly better than, on macOS. Note that performance dropped to around 80~130fps in particularly demanding areas. ↩︎
-
There is also a perspective that low customizability is not necessarily a disadvantage. ↩︎